
Top 10 3D Rendering Mistakes Clients Make and How to Avoid Them
If you’ve ever commissioned a 3D render and thought “this isn’t what I imagined,” you’re not alone. Most disappointments in architectural visualization don’t come from software limitations — they come from communication gaps, missing references, and rushed decisions.
This guide breaks down the top 10 3D rendering mistakes we see clients make and shows exactly how to avoid them. It’s written from years of delivering photorealistic rendering and stylized visualization for architecture, interiors, and real estate marketing. Use it as your rendering checklist before your next project.
Primary keyword: top 10 3D rendering mistakes. LSI: architectural visualization mistakes, rendering brief, archviz lighting, material references, 3D rendering best practices, client guide.
1) Unclear brief and missing objectives
The number one mistake is starting without a clear brief. Without a north star, the project drifts — more revisions, higher costs, and slower delivery.
What happens:
- The studio guesses your target audience and style
- You see a technically good render that doesn’t match your brand
- Revisions multiply (changing camera, mood, materials)
How to avoid it:
- Define the goal: pre-sales, approval, portfolio, competition
- List deliverables: number of views, interiors/exteriors, resolution
- Provide references: moodboards, previous campaigns, hero images you like
- Share constraints: timeline, budget range, must-have features
Pro tip: One-page creative brief beats a 30-thread email chain.
2) No single source of truth for files
When plans, materials, and comments are scattered across emails and chats, details get lost.
What happens:
- Outdated plans get modeled
- Material versions conflict between stakeholders
- Feedback contradicts previous rounds
How to avoid it:
- Use a shared folder or project board as the single source of truth
- Version files clearly (e.g., ProjectName_Plans_v3_2025-10-17.dwg)
- Consolidate feedback per round in one document
Pro tip: Assign an internal coordinator to gather and approve all feedback before sending to the studio.
3) Incomplete or ambiguous references
“We want a warm modern look” is too vague. The studio needs specific materials, textures, and lighting examples to match your taste.
What happens:
- You get colors or textures you didn’t intend
- Time is wasted exploring the wrong aesthetic
How to avoid it:
- Provide 3–5 reference images per scene for mood, lighting, and materials
- Mark what you like in each image (e.g., floor tone, light temperature)
- Send product sheets for key finishes (tiles, countertops, fixtures)
Pro tip: If exact products aren’t chosen yet, give a reference “family” (e.g., matte white subway tile 75×150 mm; light oak floors grade AB).
4) Wrong or inconsistent lighting direction
Lighting sets mood, realism, and time of day. A north-facing facade with a “golden sunset” brief can look uncanny if the shadows disagree with site photos.
What happens:
- Unrealistic shadows and reflections
- Facades read flat or too contrasty
- Interior daylight scenes feel underexposed
How to avoid it:
- Share site photos and desired time-of-day (with sun angle, if known)
- Specify interior light intent: bright daytime vs cozy evening
- Approve a lighting test (low-res) before final render
Pro tip: For exteriors, decide early: morning, noon, or dusk. Each sells a different emotion.
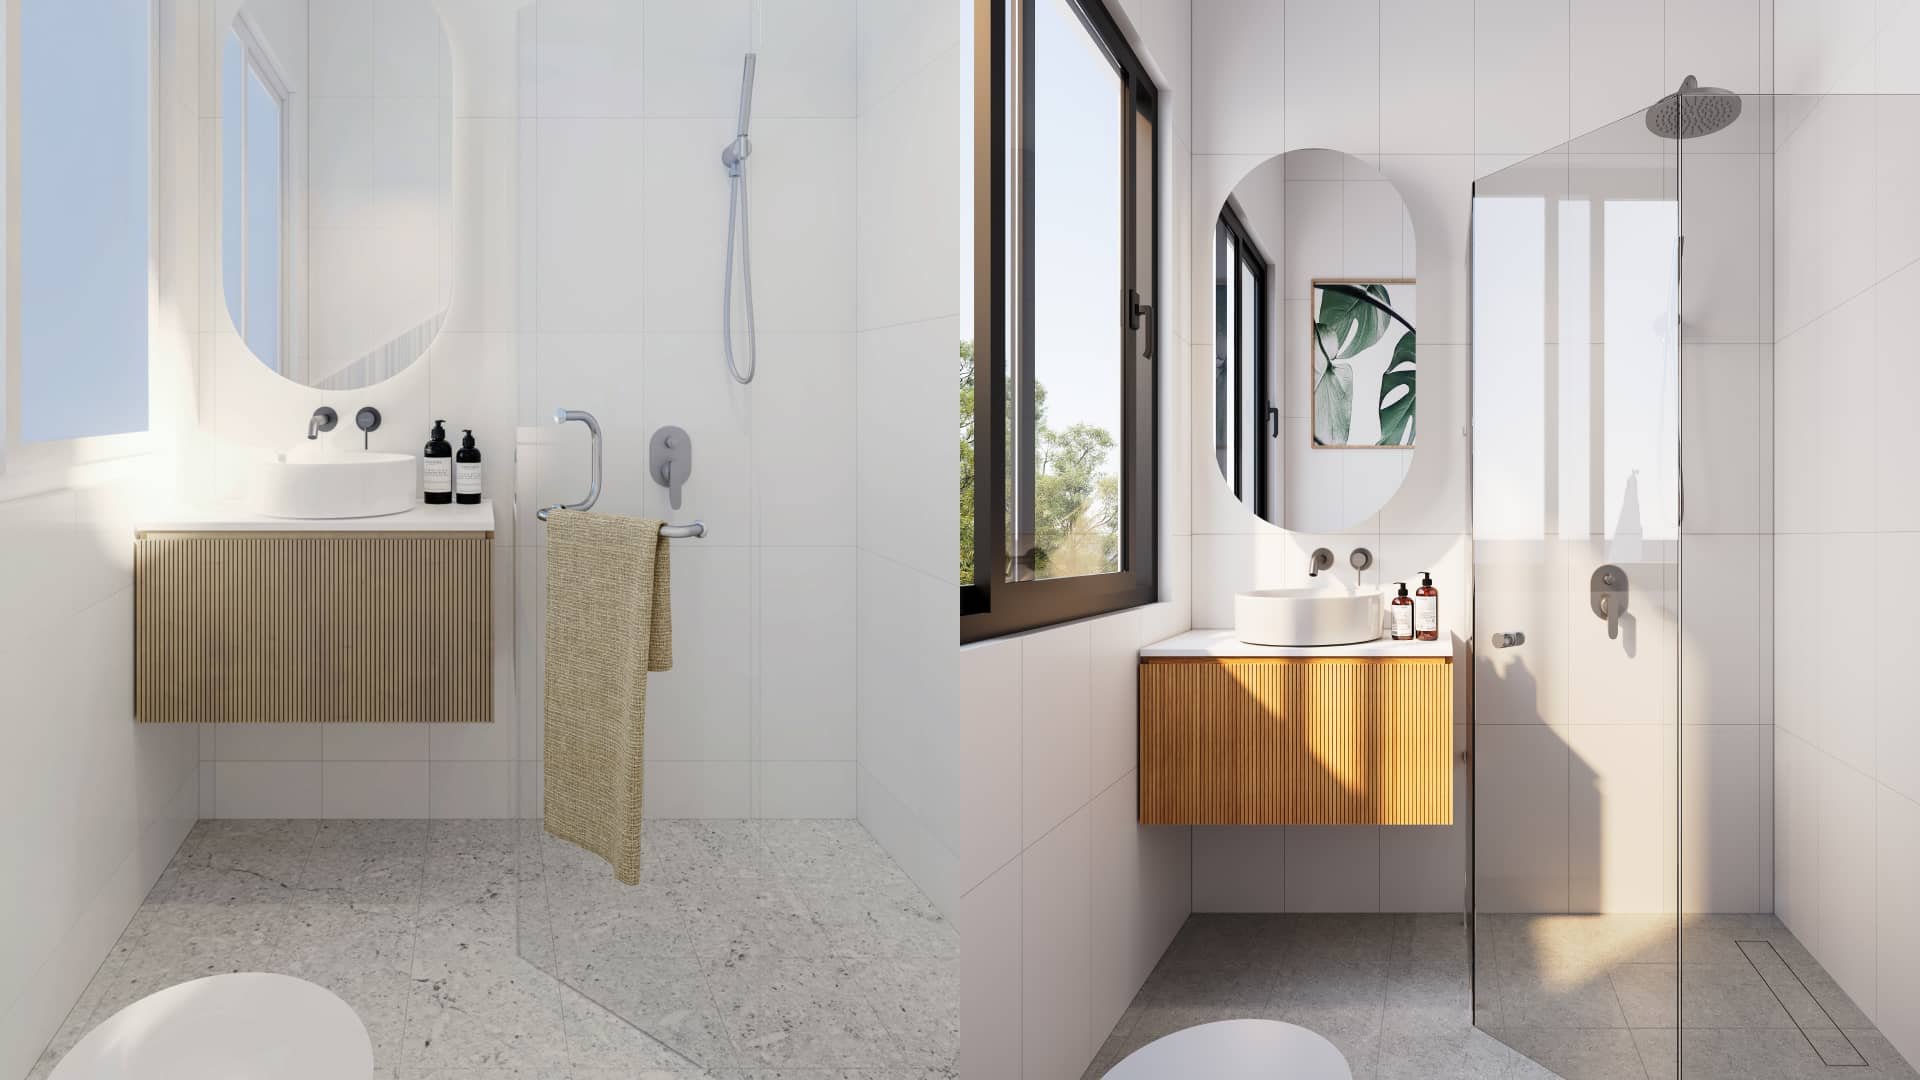
5) Missing material specifications
PBR materials need scale and finish to look believable.
What happens:
- Wood grain looks oversized; stone reads plastic
- Metal reflections are too glossy or too dull
- Glass looks gray or milky
How to avoid it:
- Provide exact product names or reference photos
- Specify finish (matte/satin/gloss), color code, and grout color
- Confirm real-world scale (e.g., plank width, tile size)
Pro tip: Approve a “lookdev” sheet per scene: close-ups of key materials under the lighting that will be used.
6) Late camera changes
Changing camera angle late forces rework in composition, lighting, and post.
What happens:
- Foregrounds no longer work; props and styling must be rebalanced
- Depth cues and reflections change; hours of post-production are lost
How to avoid it:
- Approve cameras early from low-res previews
- Provide intent per view (what must be in frame)
- Avoid micro-moves — they rarely improve the shot
Pro tip: Define primary, secondary, and detail shots before heavy texturing.
7) Over-staging or under-staging interiors
Styling sells scale and lifestyle, but too much decor feels fake; too little feels empty.
What happens:
- Busy compositions that distract from architecture
- Minimal setups that don’t communicate function or warmth
How to avoid it:
- Share brand style (Scandi, Japandi, Minimal Luxe, Industrial)
- Approve a few hero props and color accents
- Use people sparingly to indicate scale and life
Pro tip: One focal vignette per frame beats five competing moments.
8) Ignoring context and surroundings
Great exteriors consider neighboring buildings, streetscape, and vegetation.
What happens:
- The building floats in a void; scale is hard to read
- Shadows and reflections don’t match the environment
How to avoid it:
- Provide site photos and basic surveys
- Indicate key neighbors, street width, and tree types
- Decide on seasonality (lush summer vs crisp winter)
Pro tip: Use atmospheric perspective and varied vegetation proxies for believable depth.
9) Skipping revision structure
Unstructured feedback leads to circular changes.
What happens:
- Conflicting opinions from multiple stakeholders
- Minor tweaks crowd out major fixes
How to avoid it:
- Consolidate feedback per round with a single approver
- Prioritize issues: camera/lighting/materials first, cosmetics last
- Freeze changes after sign-off to protect timeline
Pro tip: Use annotated PDFs or marked-up images — they’re faster than long emails.
10) Expecting miracles from low-res assets
If your logo, floor plan, or product texture is low resolution, it will look soft or noisy in the final image.
What happens:
- Blurry signage, aliased edges, and muddy detail
How to avoid it:
- Supply vector logos (SVG/AI/EPS) and 4K+ textures where possible
- Confirm target output size (px or mm @ dpi)
- Ask the studio for an asset checklist before kickoff
Pro tip: High-res in, high-res out. Garbage in, garbage out.
Bonus: A simple pre-render checklist
- Clear goal and audience defined
- Centralized file folder and versioning
- Camera previews approved
- Lighting direction agreed
- Material lookdev approved
- Staging guidelines shared
- Context/surroundings provided
- Revision rounds scheduled and consolidated
- Output sizes confirmed
Print this list for your next project kickoff.
FAQ
How do I write a strong rendering brief?
State the goal, audience, deliverables, timeline, budget, and style references. Attach plans, site photos, and product sheets for key materials.
How many revision rounds should I plan for?
Most projects work well with 1–2 structured rounds. Larger campaigns may need staged approvals (camera > materials > lighting > post).
What speeds up photorealistic rendering?
Clean models, clear materials, early camera sign-off, and access to a render farm. AI denoising helps reduce time without losing detail.
Can we start with stylized renders and later switch to photoreal?
Absolutely. Start clay/linework to align on layout and camera, then reuse the same setup for photoreal finals. It’s efficient and reduces rework.
What file types will I receive?
High-res PNG/JPEG/TIFF by default. Layered PSD/EXR with passes on request, plus simplified 3D exports if included in scope.
Conclusion: Fewer mistakes, faster results, better visuals
Great renders aren’t accidents — they’re the result of clear goals, solid references, and a structured feedback process. Avoid the top 10 3D rendering mistakes, and you’ll save time, protect your budget, and get photoreal results that convert.
Space Visual partners with architects, developers, and marketers to streamline the rendering process — from brief to final delivery. If you want a tailored kickoff checklist and timeline for your next project, get in touch and we’ll prepare a proposal with sample frames.
Call to action: Ready to start a render the right way? Contact Space Visual for a project-ready brief template and a fast quote.
Explore Latest Blogs
3D Product Visualization: Boosting E‑commerce Sales with Interactive Renders
A comprehensive guide to 3D product visualization for e‑commerce — how interactive renders, 360° viewers, and animations increase conversions, reduce photoshoot costs, and speed up launches.

How 3D Renderings Help in Client Approvals and Faster Project Sign-off
A comprehensive guide to using 3D renderings for faster client approvals and project sign-off — covering decision psychology, approval workflows, cost savings, and stakeholder communication strategies.
